
Building a Twitter bot is not about finding a magic no-code tool that does everything for you. It comes down to three real components: API access, a script that talks to that API, and a place to run the script so it keeps working while you sleep. Once you understand how those three pieces fit together, the rest is just customizing what the bot actually does.
This guide walks through the entire process of learning how to make a Twitter bot, from setting up developer access on X to writing, hosting, and maintaining working code, using the platform’s current name of X while keeping the familiar term “Twitter bot” since that is still what most people search for and how most developers still refer to these projects.
What a Twitter Bot Actually Does
A Twitter bot is a script that uses the X API to perform actions a human would normally do by hand: posting tweets, replying to mentions, following accounts, liking posts, or retweeting content that matches certain criteria. It runs on a schedule or in response to triggers, without a person clicking anything.
Most successful bots do one thing well rather than many things poorly. A bot that reposts a daily quote, tracks a keyword and alerts followers, or auto-replies with useful information tends to hold up better than a bot trying to mimic full human behavior across likes, follows, and replies at once. The narrower the job, the easier it is to keep the bot compliant with X’s automation rules and the easier it is to debug when something breaks.
Get X (Twitter) API Access First
Before writing a single line of code, you need a developer account and an approved app on the X Developer Portal. This step trips up more beginners than the coding itself.
1. Create a Developer Account
Sign up at the X Developer Portal using the X account your bot will post from. You will be asked to describe what you plan to build. Be specific and honest about the bot’s purpose, since vague or evasive answers slow down or block approval.
2. Understand the Access Tiers
X offers multiple access tiers for the API, ranging from a free tier with tight posting and reading limits to paid tiers that unlock higher rate limits and additional endpoints such as full-archive search. Pricing and exact limits change periodically, so check the current tier details directly on the developer portal before committing to a project that depends on heavy read access, since a hobby bot that only posts on a schedule can often run comfortably on the lower tiers while a bot that searches or monitors large volumes of tweets usually needs a paid tier.
3. Generate Your API Keys
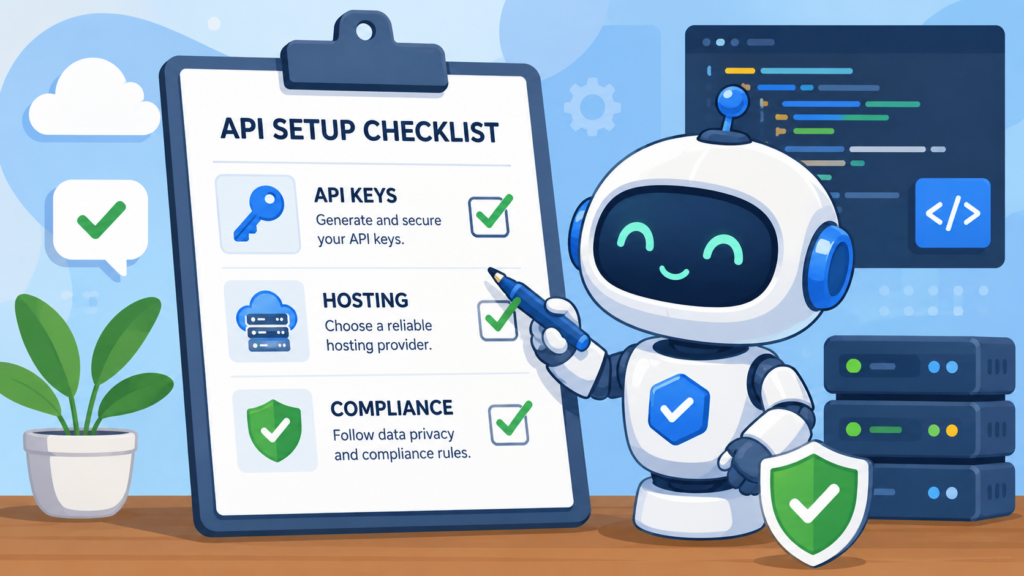
Once your app is approved, generate four credentials from the app’s “Keys and Tokens” page: API key, API key secret, access token, and access token secret. Treat these like passwords. Never commit them to a public GitHub repository; store them in environment variables or a local .env file instead.
Choose a Programming Language and Library
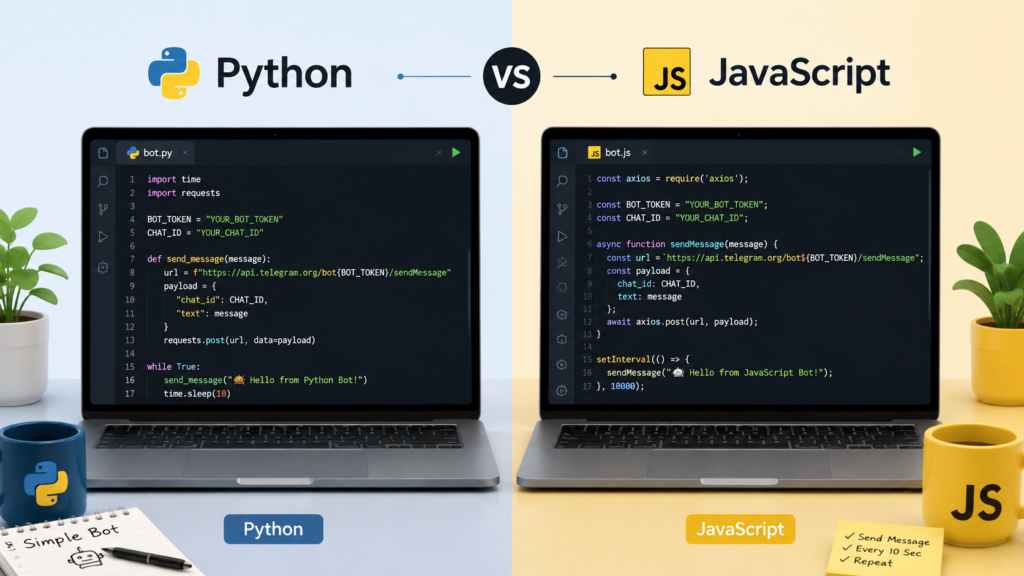
You do not need to be a senior developer to build a working bot, but you do need basic comfort with one language. Python and JavaScript (Node.js) are the two most common choices because both have mature libraries built specifically for the X API.
1. Python with Tweepy
Tweepy is the most widely used Python library for X automation. It wraps the API’s authentication and endpoints into simple method calls, so posting a tweet takes only a few lines of code. Python is a strong choice if you are newer to programming, since its syntax is readable and there are extensive tutorials for troubleshooting.
2. Node.js with twitter-api-v2
The twitter-api-v2 npm package is the closest JavaScript equivalent to Tweepy. It is a good fit if you already work in a JavaScript or TypeScript environment, or if you plan to host the bot on a serverless platform that favors Node.js.
Authenticate Your Bot
X supports two authentication methods, and picking the right one matters for what your bot is allowed to do.
OAuth 1.0a user context is the traditional method and still required for posting tweets, uploading media, and most write actions. OAuth 2.0 with a bearer token is read-only and suited to tasks like searching tweets or pulling public profile data. If your bot needs to post, reply, or like, you will authenticate with OAuth 1.0a using the four keys generated earlier.
Write Your First Bot Script
A minimal working bot only needs to authenticate and send one tweet. In Python with Tweepy, this means creating a client object with your four credentials, then calling the method that creates a tweet with your chosen text. Run the script once to confirm the tweet appears on your timeline before adding any complexity.
Once that basic post works, build outward in small steps rather than writing the entire bot at once:
1. Add Scheduled Posting
For a bot that posts at set times, wrap your posting function in a scheduler. On a server, cron jobs work well for anything running on Linux. In Python, the schedule library or APScheduler let you define intervals directly in code without relying on the operating system’s scheduler, which is useful if you plan to host on a platform that does not expose cron.
2. Add Reply and Mention Monitoring
A bot that responds to mentions needs to poll or stream for new mentions, then generate and post a reply. Keep the response logic simple at first: a fixed reply or a small set of templated responses, before attempting anything that generates dynamic text, since dynamic replies are where most compliance and quality problems start.
3. Add Filtering Logic
If your bot retweets or replies based on keywords, build a filter function that checks incoming tweet text against your criteria before taking any action. This prevents the bot from engaging with unrelated or inappropriate content that happens to contain a partial keyword match.
Host the Bot So It Runs Continuously
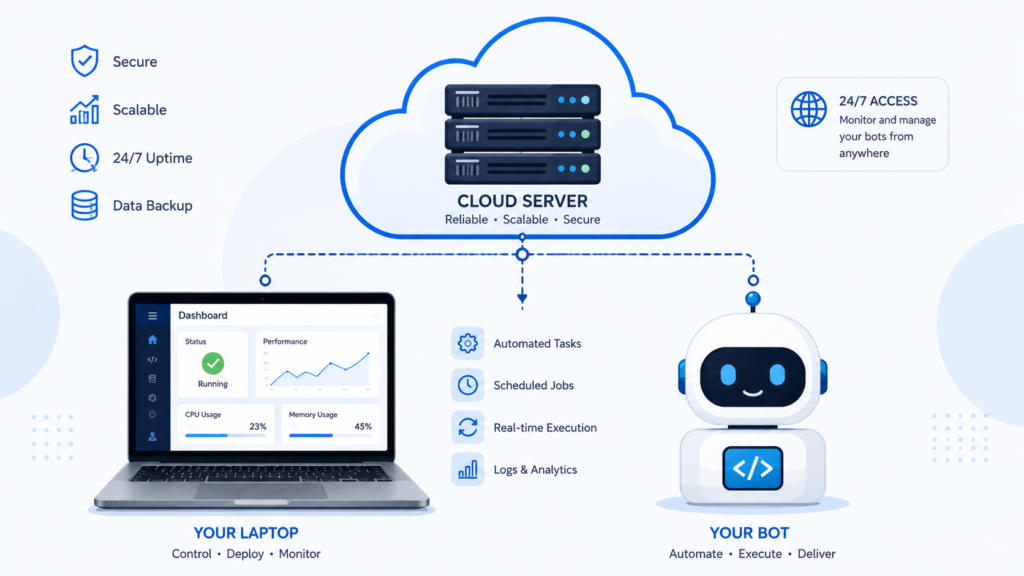
A script sitting on your laptop only works while your laptop is on and connected to the internet. For a bot that needs to run continuously, you need real hosting.
1. Free and Low-Cost Hosting Options
PythonAnywhere offers a free tier with scheduled tasks, which suits simple posting bots well. Railway and Render both offer low-cost hosting with straightforward deployment from a GitHub repository, and both support long-running background processes needed for a bot that listens for mentions in real time.
2. Traditional Cloud Hosting
For more control, a small virtual server on AWS EC2, DigitalOcean, or Linode gives you a persistent Linux environment where you can run your script inside a process manager like pm2 or supervisord, restart it automatically if it crashes, and set up cron for scheduled tasks. This route takes more setup but scales better if you plan to run multiple bots or add features later.
Follow X’s Automation Rules
X has specific automation rules that govern what bots can and cannot do, and violating them is the fastest way to get an account suspended. Bots must not spam identical or near-identical content across replies, must not aggressively follow and unfollow accounts to farm attention, and must clearly identify as automated if they interact with other users rather than just posting content.
Rate limits also apply per endpoint and reset on a rolling window. Build in delays and error handling so your bot backs off gracefully when it hits a limit instead of retrying immediately and getting flagged for abusive request patterns. Log every action your bot takes, since a log is the fastest way to spot when something is misbehaving before it causes account trouble.
Bot Ideas That Actually Work
Some bot concepts consistently perform well because they solve a real, narrow problem. A daily digest bot that summarizes headlines from a specific niche, a price-alert bot that tracks a product or stock and posts when a threshold is hit, a reminder bot that posts recurring content like a “this day in history” fact, and a customer-facing reply bot that answers common questions for a small business account all fall into this category. Each has a clear, single job, which keeps both the code and the compliance requirements manageable.
Test Before You Automate Fully
Run your bot in a test mode first, either posting to a private test account or logging what it would post without actually sending it, before letting it run unattended. This catches formatting errors, broken character limits, and logic mistakes that are far easier to fix before the bot is live and posting to real followers.
Once you are confident in its behavior, deploy to your real account, monitor it closely for the first few days, and adjust rate limits or filtering logic based on what you observe. A bot that works correctly in testing can still behave differently once it meets the unpredictable variety of real tweets and mentions.